Setting Up a Webhook in Rize
Webhooks are a powerful way to automate workflows and integrate different tools. With Rize’s webhook feature, you can receive real-time updates whenever key actions occur — such as when a new project is created.
How Webhooks Work
When a configured event occurs, Rize sends a POST request to the specified URL endpoint with the following headers:
  {
    "Content-Type": "application/json",
    "X-Webhook-Event": "project_created",
    "X-Webhook-Signature": "sha256=..."
  }
The X-Webhook-Event header tells you which event triggered the request, and the X-Webhook-Signature provides a SHA256 HMAC signature for security validation.
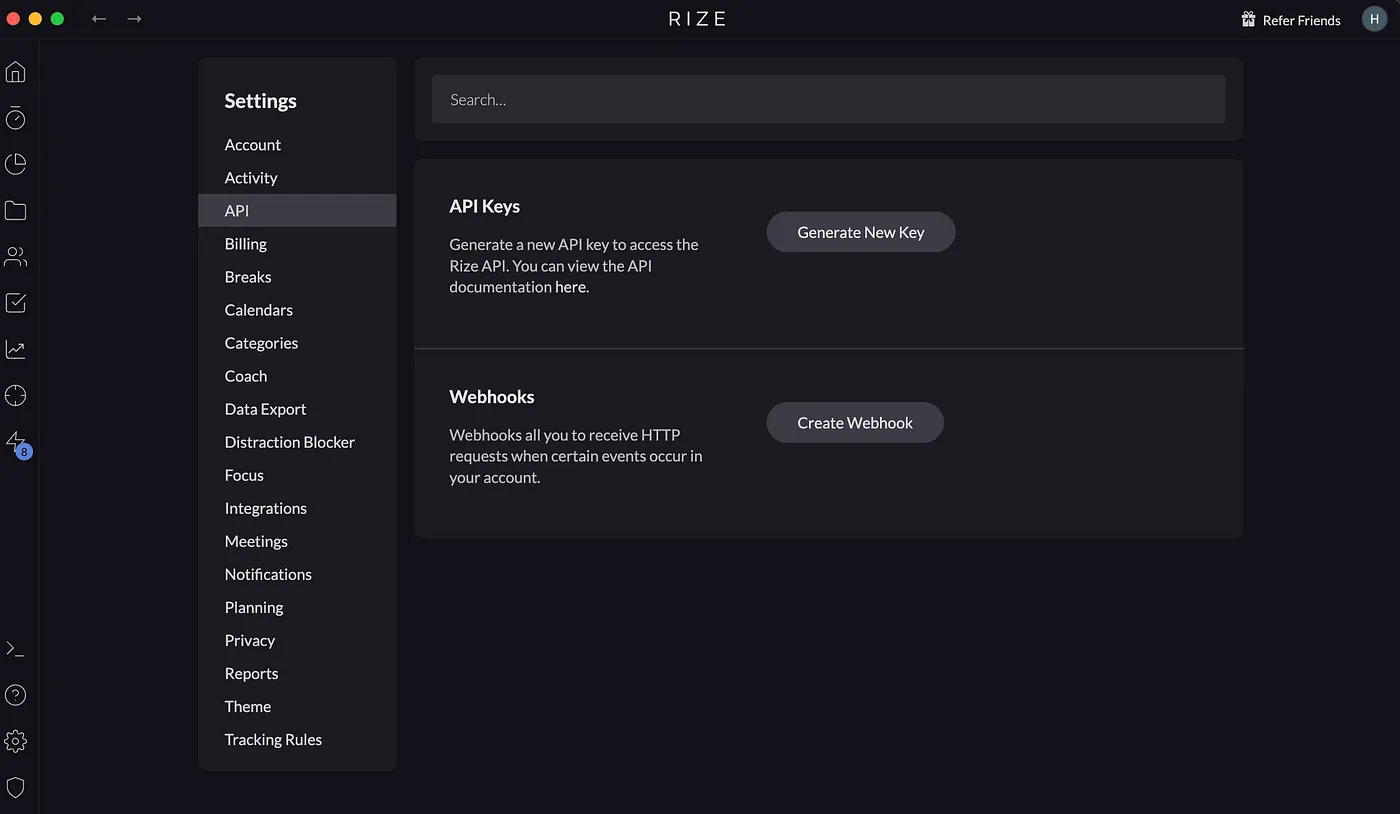
Accessing the Webhook Settings Page
To create a webhook, click "Create Webhook" in Settings > API.
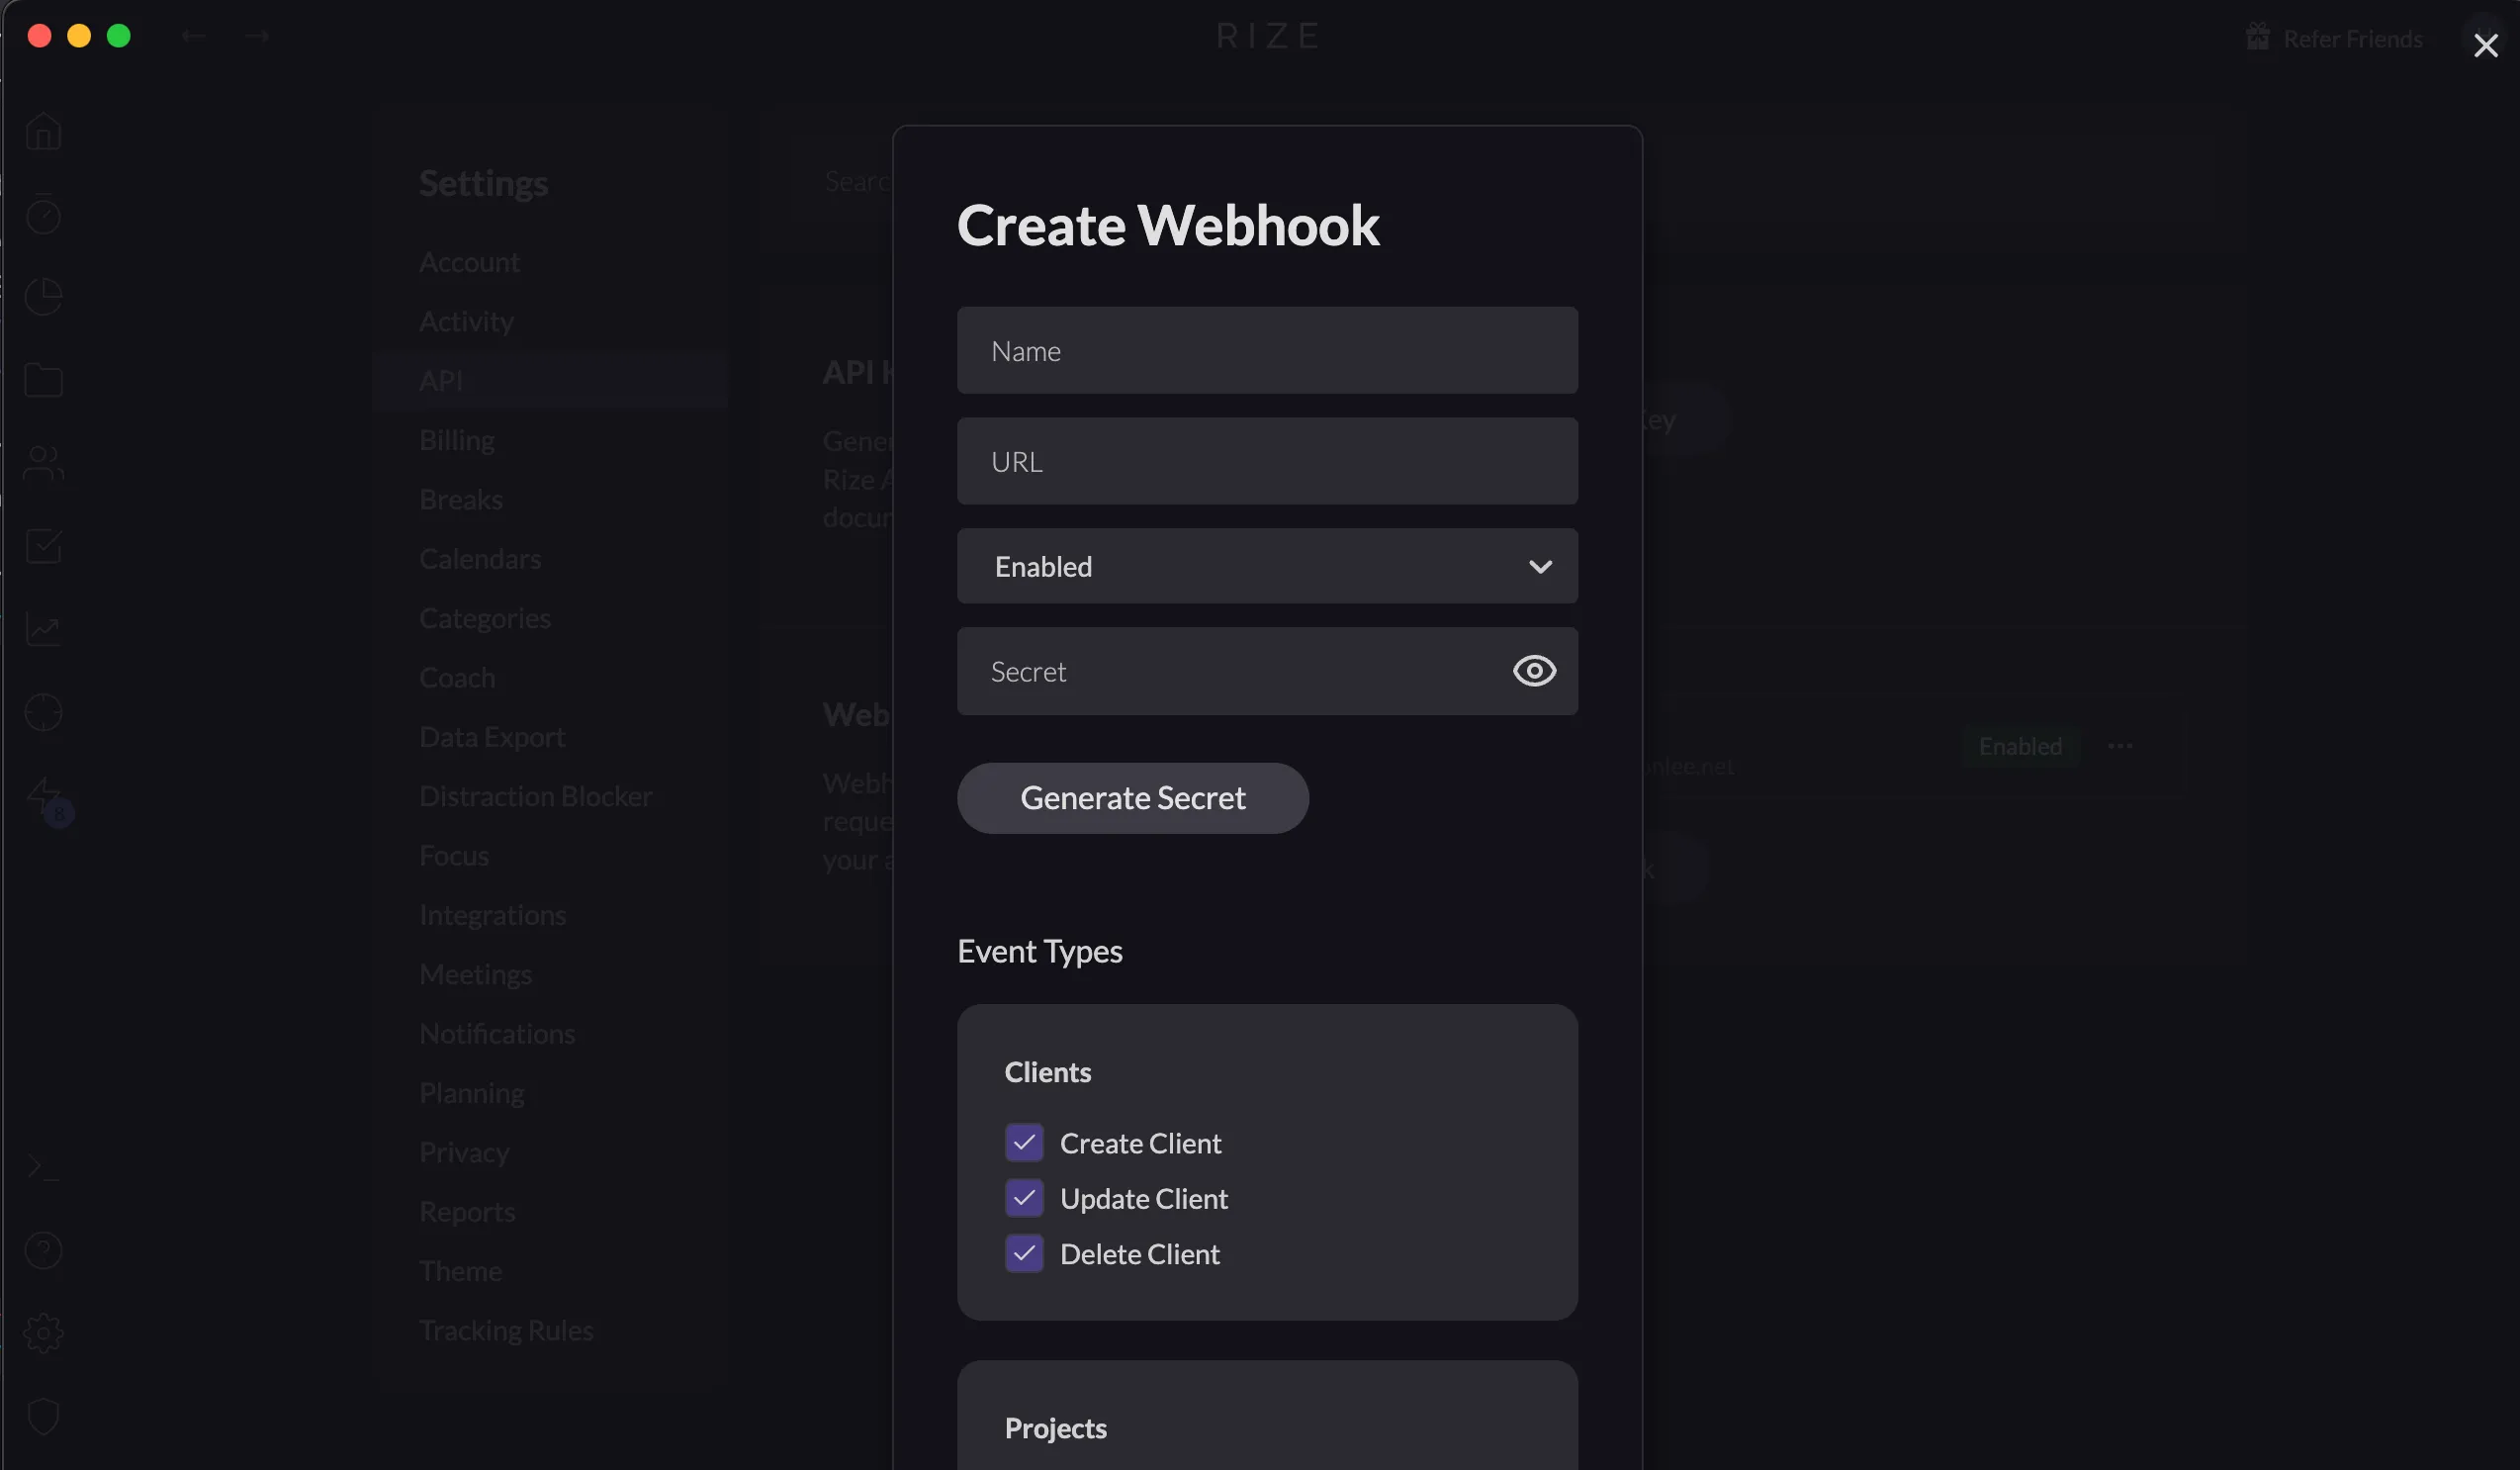
Configuring the Webhook
On the Create Webhook modal, you can configure the following fields:
- Name: A name for your webhook (e.g., “New Project Notifications”).
- URL: The endpoint where Rize will send webhook data.
- Secret: A private key used to verify authenticity.
- Event Types: The events that will trigger the webhook (e.g., “Create Project”).
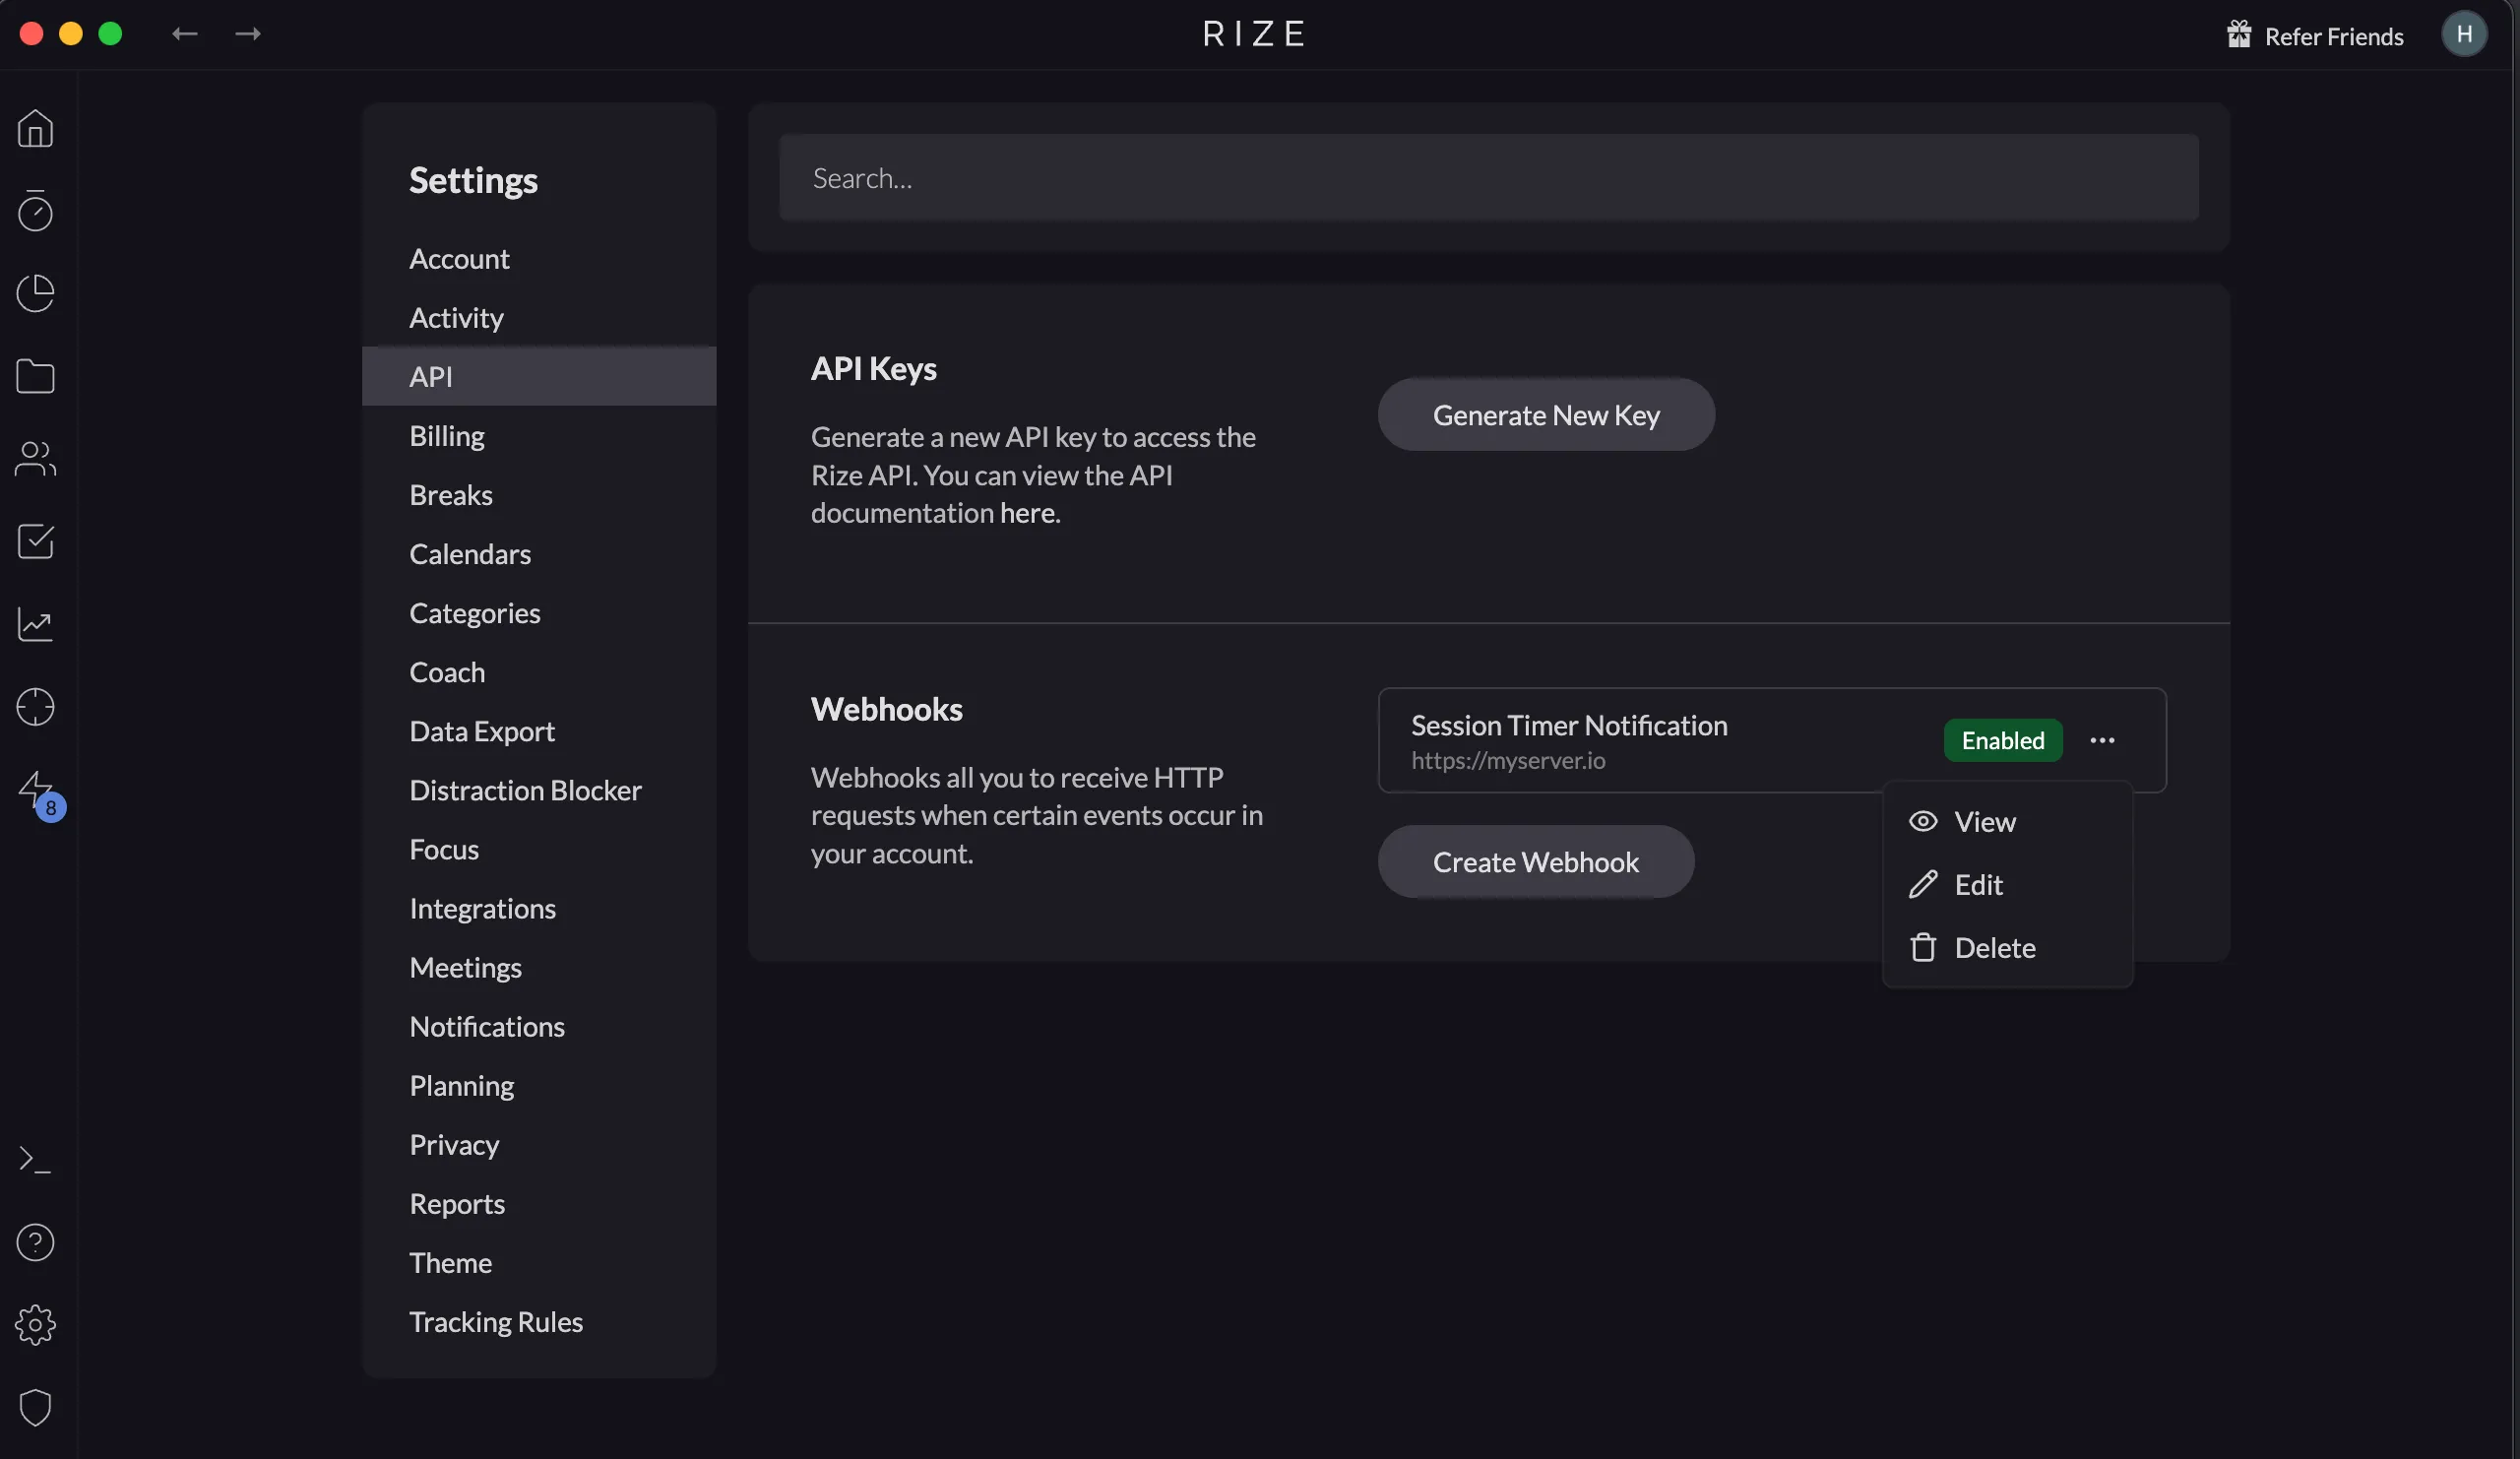
Saving and Managing Webhooks
Once saved, your webhook will be triggered whenever the selected events occur. You can find all your configured webhooks in the Webhooks section in Settings > API, where you can view, edit, disable, or delete them.